Introducing Customer Journey Mapping, a popular Customer Experience tool. It visualizes an end-to-end customer experience, helping businesses deepen their understanding of their customers' behaviors, thoughts, and feelings.
Hi, this is Jick Yeung from Visual Paradigm. In this video I am going to introduce you to Customer Journey Mapping, which is a popular tool to use in customer experience management.
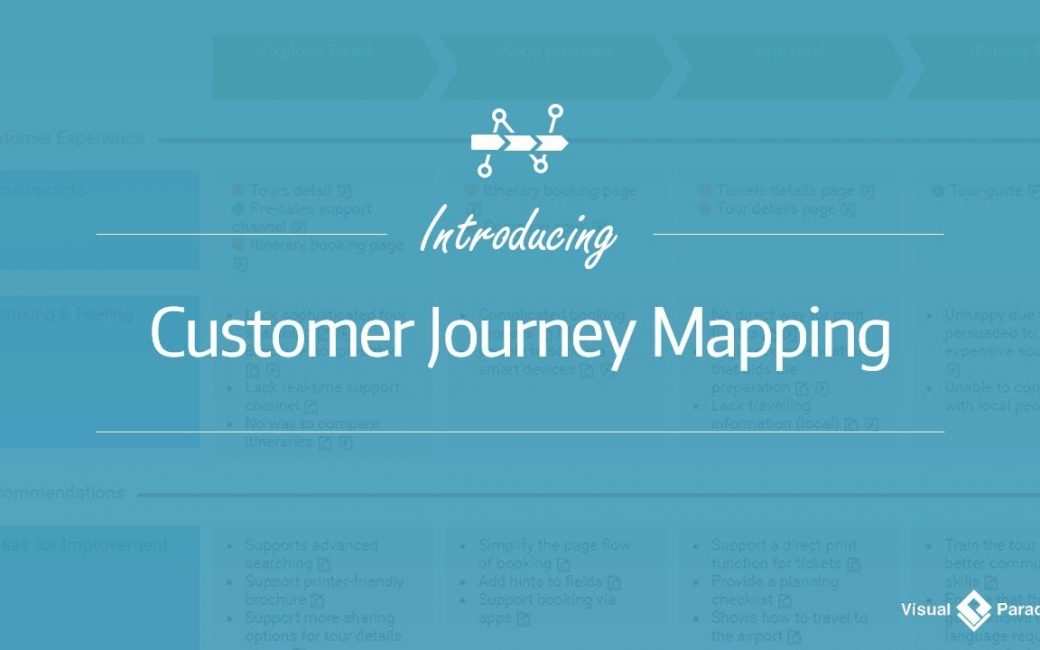
This is a customer journey map. People create a map like this to visualize the thoughts and feelings customers have during the engagement with an organization, service, product or brand over time. The idea is pretty simple. Let me give you a quick overview now.
I’ll explain with a case study of a tours company.
Let’s say I’m a manager of a tours company, and I want to know about how the customers feel about our touring services. In particular I’m interested to know about the bottlenecks they experience. The first thing I have to do is to list out the stages of the entire journey, from exploring itineraries, to booking a tour, pre-tour (Pre-tour is where the customer prepare for the tour), during the tour and post tour. Keep in mind that a customer journey map must be drawn from customers’ perspective. It describes the activities the customer would undertake, in words the customer might use. So you see the stage Explore Itineraries here, instead of something like “provide tour details”.
For each stage, identify the customer touchpoints. A touchpoint is any time a potential customer or customer comes in contact with your brand. Here are the touchpoints of the stage explore itineraries.
Company website. A potential customer come to our website to find information about tours.
Advertisement. A potential customer knows our offer from advertisements.
Social media. A potential customer comes to our social media accounts and sees our offers there.
These are the touchpoints. Sometimes, touchpoints are written as customer actions like surfing the company website and reading advertisement.
Once the touchpoints are identified, I’ll start to identify what the customers think and how they feel for each touchpoint. What do the potential customers think when they visit our website to find tours information? Are they happy, unhappy or even frustrated with our services? Think as a potential customer and list out all the customer thinking and feeling. Here are some examples.
They are pleased with the rich tours details we provide.
They are unhappy due to the lack of real time support.
They are unhappy because the brochure are not printer friendly.
Finally, based on these finding I can think of the possible solutions. Since the potential customers want real-time support, we may consider supporting a live-chat function, as well as to setup a company Whatsapp account.
By putting together the stages, the touchpoints, customer’s thinking and feeling and ideas for improvement together, a map is formed, and this is a customer journey map.
A journey map makes visible the interactions between customers and the business. It identifies the blockages that might prevent customers from proceeding smoothly, and develop a holistic view of customer experiences.
So when should Customer Journey Mapping be utilized? Here are some situations where you will benefit from Customer Journey Mapping.
If you believe that there are bottlenecks in the current business but not sure where they are nor how to get rid of them, create a customer journey map to find them out.
If you have adopted a new business strategy that brings new customers to your business, you may want a studying of their experiences. An example would be a boutique that offers online shopping option which attracts a new group of potential customers who prefer online shopping.
If your business is offering an entirely new service that requires a thorough studying of customer experience. An example would be a supermarket that offers free delivery service lately.
If there are significant business changes like a merger of two companies, you might want to ensure that customer experience is not affected.
Finally, when you want to ensure that different business units are collaborating seamlessly with each other in delivering a seamless and consistent service to customers.
Now, let’s take a look at how to utilize customer journey map in practice.
The first step is to identify the customers who are relevant to your journey and the scope of activities you would like to assess.
After that, you invite the customers or their representatives to a journey mapping workshop. You ask them about their thoughts and feelings at each stage of the journey.
With the information gathered, create a customer journey map. Very often step 2 and 3 are iterative, which means that customers will review and comment on the map, and then you review it, customers will then review again, until the map can accurately reflect the customers’ experience.
Improvement opportunities are identified. The next step is to create action plans for discussing and implementing the improvement ideas stated in the map.
Visual Paradigm supports a set of tools that help.
If the improvement is about a change on business workflow, you may represent the new workflow by drawing a business process diagram.
If the improvement is about adding new system functions or to re-engineer the existing system, you may model the changes with UML diagrams.
If further discussions on user experiences are required, you may draw wireframes for screen mockups.
ArchiMate diagram can be drawn to represent the architecture of business, information system and technology domains, if the improvement may result if architectural changes of the enterprise.
The final step is to implement the improvement ideas, and to make them effective.
Besides developing a customer journey map loosely, you can optionally integrate it with other parts of your model. Take this use case diagram as example. It visualizes the use cases of an online bookstore. The use case Order Books here means that the need of book ordering will be supported by the system.
You can attach sub-diagrams to all model elements, which includes but not limited to use cases.
Here is an example. The use case Order Books can hold a sequence diagram that visualizes its system flow, and a state machine diagram that shows the internal state changes. Similarly, you can assess the customer experience of a use case by attaching a customer journey map as a sub-diagram of that use case.
In this example, we can develop a customer journey map to demonstrate the customer experience throughout an ordering process. Perhaps there are touchpoints like the book details page, the buy page. Customers may feel unhappy, because the page lacks a shopping cart, and then we can wrap up an improvement suggestion, which is to develop a shopping cart.
Besides integrating a journey map with use case, you can also integrate it with other modeling artifacts. If use case is too high level, you may want to apply customer journey mapping on a specific UML action, which represents a system function model. Or to examine the customer experiences for real world business activities by creating journey maps for individual sub-processes. You may also perform customer experience mapping on business processes modeled in ArchiMate diagrams.
In the next few minutes I’ll show you how to develop a customer journey map in Visual Paradigm. Let’s start.
[Demonstration]
This is Visual Paradigm, the Start page of Visual Paradigm. Customer Journey Map is a kind of diagram, so I create a new diagram first. Select Diagram. Click New. I search for Customer Journey Map. The short form is CJM. Select Customer Journey Map and click Next. Enter the diagram name. Next, enter the diagram name. I would suggest you enter the name of the journey here. I'm going to demonstrate the use of customer journey map in representing the customer experiences of tour service, so I name the diagram Take Tour. I click OK to confirm.
This creates blank customer journey map… It’s not really blank because you see some stages and some lanes created for you by default. What I have to do is to rename the stages, or remove, or add stages, and to enter the touchpoints, customer thinking and feelings, and enter the improvement ideas. I will show you step by step. I'll start by entering the stages. The first one, Explore Itineraries. The second one Book a Tour. The third one, Pre-Tour. The fourth one, During tour.
I need one more stage. Post Tour.
And that’s it for stages. After that I'm going to enter the touchpoints of the first stage Explore Itineraries. Double click on this cell. This is the interface where I can enter and edit the touchpoints. So I enter the first touchpoint “Tours detail”.
You can optionally enter a description. I will explain the use of reference in a minute. And I enter the second touchpoint “Pre-sales supports channel”. Enter the description. The third touchpoint “Tour booking page”. Again the description. And confirm. You see three touchpoints are created under the first stage.
Next, think about what the customers think and feel for each touchpoint and list them out in this cell. Again, I double click on the cell and start to enter the customer thinking and feeling one by one. The first one, “Lack sophisticated tour searching”. Again I can enter a description. By the way the description you entered will appear in the report you generate. I will demonstrate the report generation feature in a minute. Again I enter the second one “Brochure not printable”. Enter the description.
And third one, “Lack real-time supports channel”. The description.
The fourth one, “No way to compare tours”. Again the description.
Okay this time I want to talk about the reference, the reference column here. As I said before, touchpoints, thinking and feeling, and the ideas for improvement are interrelated. It's the touchpoints that trigger a customer to produce certain feeling or to think of something, to have some emotional changes which, as a result causes the need of improvement. The reference column here is for you to establish the relationships between them. With the use of reference you have a clear understanding of which touchpoint triggers what's thinking and feeling and what are the ideas proposed to remove or to mitigate the negative feeling customers have. This is the purpose of reference. So I set the reference here.
The point “Lack sophisticated tour searching” is generated when a customer visits the tours detail page. So I select “Tours detail page” here. The second one “Brochure not printable” is again generated when a customer visits the tours detail page. The comments that there is the lack of real-time support channel is generated from the touchpoint “Pre-sales supports channel”. Finally, the comment that there is no way to compare tours was generated when the customer visits the tours booking page.
So I've set all references. Click OK to confirm. You see some tiny icons put after the points. These icons indicate the existences of reference or if an item is being referenced by others.
By the way there is really no fixed or standard schema for customer journey map. If necessary you can customize the map by adding more lanes, like this. Say, you may want to present also the customers’ emotions throughout the journey.
But you don't need such a lane here so I just remove it first.
I move on to the Ideas for Improvement. I want more space so I just collapse this pane first. I’ll reopen it later on.
Okay, Ideas for improvement. Same as before I double click on the cell here to open the editor. Based on the customer experience identified, think of and list out the improvement opportunities. The first one is to “Support advanced searching”.
I can enter a description.
The second one, “Support a printer-friendly brochure”. Again the description.
These ideas are created in response to the customer experience identified before. So here I am going to add references to customer thinking and feeling. And confirm.
Alright I’ve finished entering the customer experience and recommendations for the first stage. Repeat this steps for the other stages.
This completes the journey map. Now the touchpoints, thinking and feeling and ideas for improvements are all represented as bullet points. We provide two alternative presentation options. In this video I want to talk about the label style. Right click on the lane header, like this one, the Touchpoints. And select the item style. There are three styles - Label, bullet points and numbers. The current style is bullet points. I want to present the points as labels, so I select labels. The label style provides you with a way to categorize items. Let’s say I want to categorize the touchpoints into human touchpoints and system touchpoints. Let me show you how to do this.
Double click on this cell. Assign a color label to system touchpoints. Assign another color label to human touchpoints. Repeat these steps on all the other touchpoints.
Finally I name the two color code as system touchpoint and human touchpoint.
This is how the label style works. Now I want to show you how to generate a report from this customer journey map. You may need this feature when you want to produce a document for communication. To generate a report, expand its pane. Double-click on this button Customer Journey Mapping to generate a document file. Confirm.
This is the generated report. This is the map, the image. These are the details I entered for each stage which include the touchpoints, customer thinking and feeling, and ideas for improvements. And the next stage, the next stage and so forth.
If you just want an image instead of a document you can do this. Select Project from the toolbar and select Export Active Diagram as Image, save the image. And this is the image file exported.
Before I go I want to show you how to integrate a customer journey map with a visual model. I will use a use case model as an example. Here is a use case, “Cancel Order”. I want to study the customer experience associated with order cancelling.
To do this click on this tiny sub-diagram icon. Select New Diagram. Choose customer journey map and confirm. So now I can start to develop the map. Say, the first stage is “Before cancellation”. There is a touchpoint “Terms and conditions page”. And I confirm it. Go back to the use case diagram. The customer journey map is stored under the use case now. From now on I can open a customer journey map from the use case, like this.
Okay this is the end of this video. I hope you will find customer journey map useful. If you want more information please visit our website www.visual-paradigm.com.
Goodbye!
