At project closure, conduct a project retrospective meeting with the scrum core team to determine ways in which project team can be improved in future projects. Collect both positive and negative feedback from the participant and capture the lessons learned.
In Scrum Process Canvas, the scrum tool, perform the steps below to conduct a project retrospective meeting.. You may try the steps interactively by visiting the interactive product tour.
Step 1: Prepare for a project retrospective meeting
- In the Scrum Process Canvas, click on the work item Project Retrospective Meeting to open it.

- As the first step, you are required to prepare the project retrospective meeting by deciding the date and time, the attendee and the agenda of the meeting. Click on the action artifact Project Retrospective Meeting.
- Fill-in the meeting form to complete this step. First, specify the background of the meeting by entering the date, time, location of the meeting. Besides, select the members who will attend the meeting.

- List the topics to be discussed in the meeting as agenda topics. Press Enter to create a new topic.

- Enter other information such as the observers and resources required.

- When finished, go back to the work item page via the breadcrumb.
- When you are done, you can move on to the next step. To do this, click on Complete Step at the bottom right corner, and then select Complete from the popup menu.
Step 2: Capture project’s key successes
You are now in step 2. In this step, you will capture the key successes achieved by the project.
- Click on the action artifact Project Key Successes to continue.
- Fill-in this form to complete this step. First, list the major success achieved by the project.

- Describe the factors that contributed to those successes. Instead of just describing the successes the project has had, it’s more valuable to state the factors that contribute to these successes so that similar projects can repeat the successes.

- When you are done, go back to the work item via the breadcrumb.
- Complete this step to move on to the identification of project challenges.
Step 3: Capture project’s challenges and shortcomings
- Click on the action artifact Challenges and Shortcomings.
- Project challenges refer to the conditions, not under the control of the project team, which affects the project negatively. Complete this part first. Discuss and list out the major challenges one by one.

- Describe them and recommend solutions. A recommended solution can be one that’s implemented and found effective. It can also be a better alternative of the implemented option.

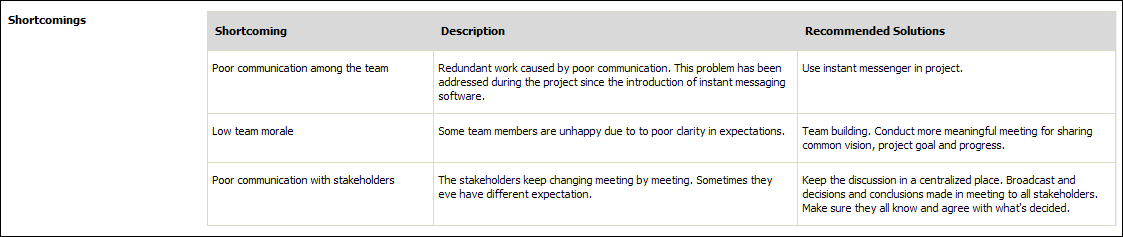
- List the major project shortcomings. Shortcomings are the tasks that were done wrongly or poorly, or any decisions made incorrectly. It’s sometimes confused with challenge and difficulty, yet it is neither. To make it simple, challenge and difficulties are adverse situations that require resolving in order for the project to complete, while shortcomings are fault and failures.

- Again, describe the items and recommend solutions.
- Document the things that the team would/could do differently next time to improve or mitigate the difficulties as a whole (more holistic and strategic in nature).

- When finished, go back to the work item via the breadcrumb.
- Complete this step.
Step 4: Wrap up the meeting
In the final step, you have to wrap up the meeting by entering the discussions and conclusions of the meeting and creating tasks to address problems and improve processes in order to enhance their performance in future projects.
- Click on the action artifact Project Retrospective Meeting.
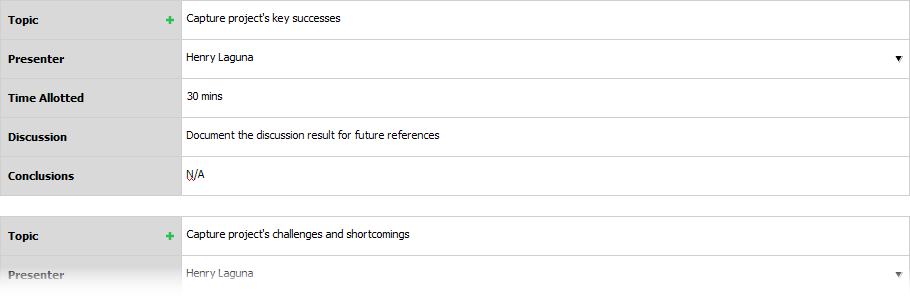
- Complete the meeting form. Describe the discussion and conclusion for each agenda topic.
- When finished, go back to the work item.
- Complete this step.