Wireframe is a sketch of user interface. It provides screen blueprints of the software system to be developed. By representing system screens with wireframes, customer can easily picture what will be developed even without any prototype or semi-product built. This facilitates the collection of early user suggestions in requirements gathering phase of software development, which in turns save cost and increase the quality of the end product.
Visual Paradigm supports the wireframing of website, desktop applications as well as mobile applications (Android and IOS). Not only do we support the sketching of wireframe but as a full-featured requirements tool, we also support the organization and presentation of wireframes as storyboard.
While wireframe itself represents a static screen blueprint,storyboard allows the dynamic representation of wireframes by grouping and ordering wireframes as storyboards. Take online banking as an example, one can add a storyboard called “Transfer Cash” and add the wireframes to the storyboard by representing the screen flow from account login to entering the target account ID, specifying the amount to transfer and finally executing the transferal command.
Same as user story based wireframing, wireframe storyboard also allows user to present the wireframes involved in form of a slideshow. This allows users to demonstrate screen flow to their customers easily.
To create a wireframe storyboard:
- Select Modeling > Storyboard from the toolbar.
- Click Add New Storyboard.

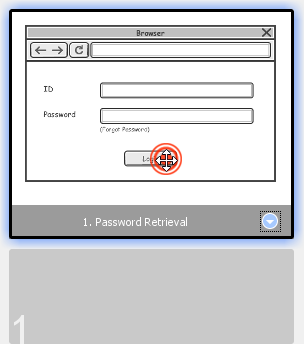
- Input the storyboard name in the breadcrumb and press Enter. You can treat a storyboard as a story. So, if you want to represent the screen flow of the password retrieval process, you can name it Password Retrieval.

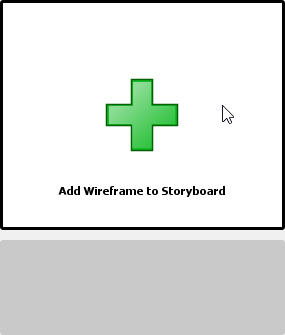
- Click Add Wireframe to Storyboard.
- If your project has no wireframe in it, you will be asked to create one. If the project contains a wireframe, you can now add an existing wireframe to the storyboard or just create a new wireframe. More about wireframe selection will be covered in the following sections.

- Create/select a wireframe.
- Go back to the storyboard by clicking on the Done button on top of the wireframe.

Creating a wireframe in a storyboard
To create a new wireframe in a storyboard:
- Select Modeling > Storyboard from the toolbar.
- Double click on the storyboard that you want to add wireframe(s) into.
- Click Add Wireframe to Storyboard….
- If your project has no wireframe in it, you will be asked to create one. Select the device/platform that suit your application/system. If your system will run on multiple devices/platforms, please consider creating multiple storyboards.
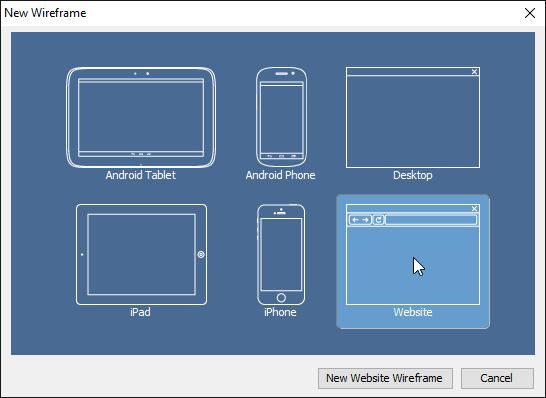
- Click New %TYPE% Wireframe where %TYPE% is the type of device/platform you selected.
- A blank, new wireframe appear and you can now begin editing.
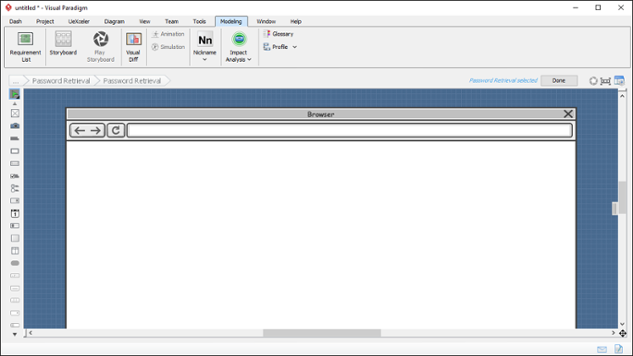
- When you finish editing, you can go back to the storyboard by clicking on the Done button on top of the wireframe.
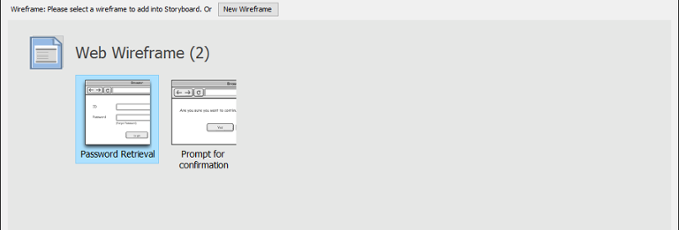
The above are the steps that involve in creating a wireframe from a storyboard when there is no wireframe in your project. Once you have created a wireframe, you will see something different after step 4. Here is what you will see:
If you want to create an entirely new wirefram:
- Click on the New Wireframe button.

- The remaining steps are same as those mentioned above, starting from step 4.
If you want to create a new wireframe and you found that an exising wireframe is more or less the same as what you want to draw, you may create what we called a ‘child state’ of that existing wireframe.
- Double click on the wireframe to treat as a base in creating a new wireframe.
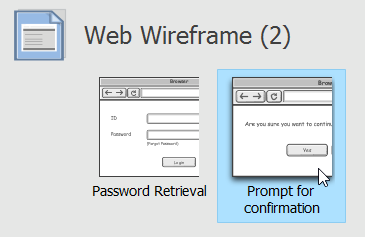
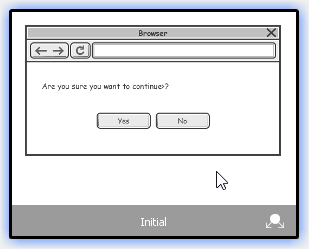
- This shows the available states of the wireframe. Select the state that looks closest to what you want to draw.
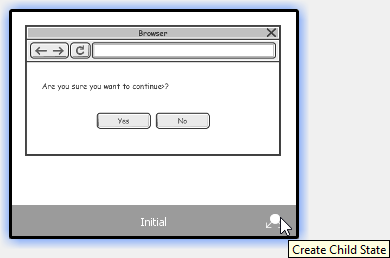
- Click on Create Child State.
- Edit the new wireframe (state). When you finish editing, go back to the storyboard by clicking on the Done button on top of the wireframe.
Adding an existing wireframe to a storyboard
Sometimes, you may want to re-use a wireframe created earlier. For example, to reuse a wireframe about account login in storyboards that require user to login to do something.
To add an existing wireframe into a storyboard:
- Select Modeling > Storyboard from the toolbar.
- Double click on the desired storyboard to open it.
- Click Add Wireframe to Storyboard.
- Click on Select Wireframe Diagrams.

- Double click on the wireframe.
- This shows the available states of the wireframe. Select the state of wireframe to add into your storyboard.
- Go back to the storyboard by clicking on the Done button on top of the state selection page.

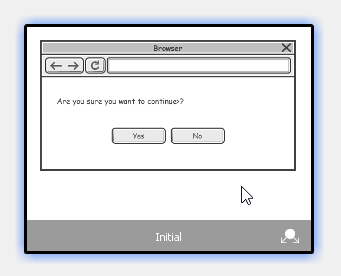
Using pointer / finger gesture
You can indicate in wireframe the position of mouse pointer, or the finger gesture required to execute an action. To do this:
- Select Modeling > Storyboard from the toolbar.
- Double click on the desired storyboard to open it.
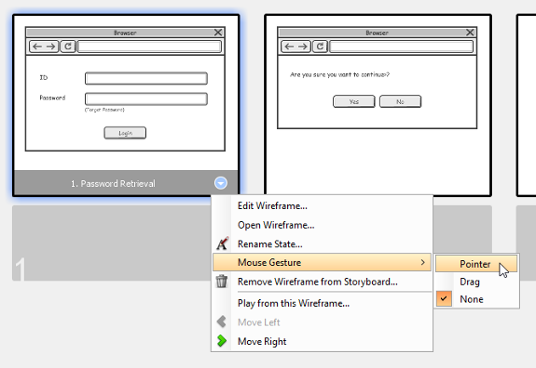
- There is a button at the bottom right of a wireframe. Click on it and select Mouse Gesture > Pointer/Drag/Finger Gesture from the popup menu. Note that Pointer and Drag are available for Desktop and Web wireframe, while Finger Gesture is available for Android phone, Android tablet, iPad and iPhone wireframes.
- Drag on the pointer/drag/finger gesture symbol to reposition it.