In Visual Paradigm, a wireflow is created in a Wireflow Diagram. You can create as many Wireflow Diagrams as you need to support your UX design needs.
A Wireflow Diagram is composed of scenes, which are the screens involved in a flow. Each scene is a visualization of either screen components selected from the wireframe symbol library or a particular wireframe (diagram). We will talk about it later on in this article.
Creating a Wireflow Diagram
To create a wireflow diagram:
- Select Diagram > New (Ctrl-N) from the application toolbar.
- In the New Diagram window, select Wireflow Diagram and click Next.

- Name the diagram and click OK. This creates an empty Wireflow Diagram where you can start constructing the flow.
Creating a wireflow
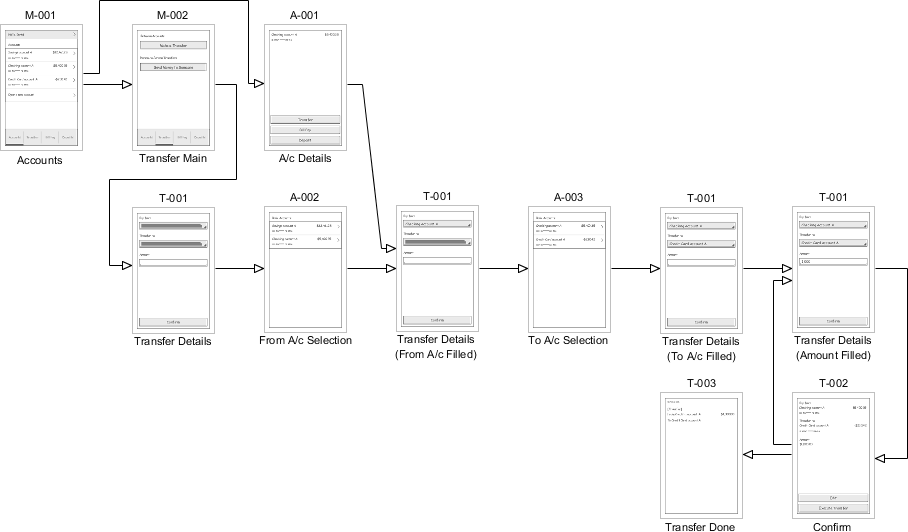
A wireflow describes the composition of screens and how they flow under a particular scenario. It contains two main elements – scenes and flow connectors. Scenes are simply the screens that appear in the wireflow, while flow connectors connect the scenes in forming a wireflow. In this section you will learn how to create scenes and flow connectors.
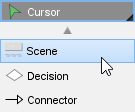
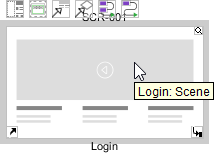
- To create the first scene of a wireflow, select Scene from the diagram toolbar.
- Click on the diagram to create a blank scene.
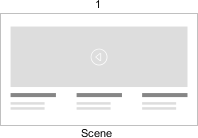
- Edit the screen ID and scene title. The screen ID uniquely defines a scene. People also use it as a key to link the scene with the implementation activities / artifacts associated with that scene. The scene title is a short description of what’s happening under the moment the scene appear.
You will learn how to change the content of a scene in the next section. For now, let’s focus on the creation of wireflow first. - To create the next scene, move your mouse pointer over the created scene.
- Press on the resource icon Connector -> Scene and drag it out.
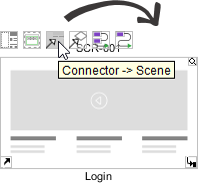
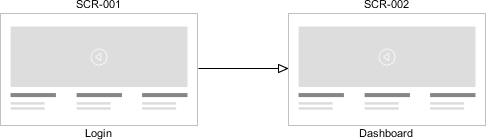
- Release the mouse button. This creates a new scene connected with the previous one. Name the screen ID and scene title.
Representing alternative flows with decision
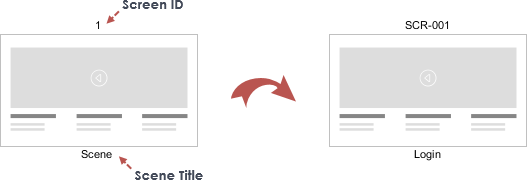
There are always alternatives and exceptional behaviors in a user interaction. Take a login process as example, while the basic flow is to log in with success using correct user ID and password, there are many alternative paths such as invalid ID, invalid password, non existing account, ‘forgot password’, and even in a successful attempt, there are multiple ways to log in such as to log in with a normal account, with Facebook account, with Google, Twitter, etc. Instead of creating separate wireflow diagrams for these behaviors, you can present all the possible paths in a single wireflow diagram with the help of the decision shape. The figure below gives an example.
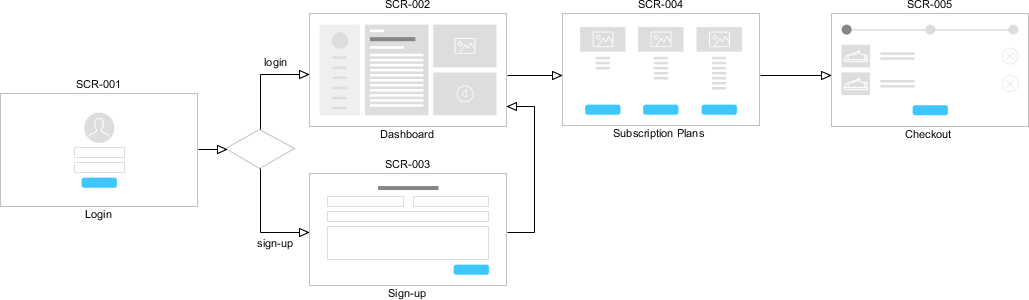
The wireflow begins with the Login screen. If user log in (with success), it goes to the Dashboard screen. If user triggers the sign-up function, it shows the Sign-up screen.
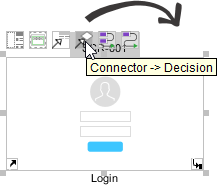
To create a decision shape from a scene, use the resource Connector -> Decision.
Selecting scene content – Screen components / Wireframes
Depending on the level of detail required, you can compose a scene by selecting simple components from a pre-defined wireframe symbol library, or to embed a detailed wireframe in it. This section shows you how to make a selection.
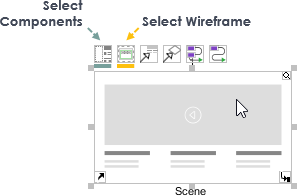
To select the content, move your mouse pointer of a scene. Click on either Components or Select Wireframes.
Screen components

To add a new components part:
- Click on the + button at the bottom left of the Components window.
- Select the right category.
- Select the components part.
- Repeat these steps until all parts are added.
- Click OK.
Wireframes
To create a new wireframe:
- Right click on the scene and select Convert to Wireframe… from popup menu.
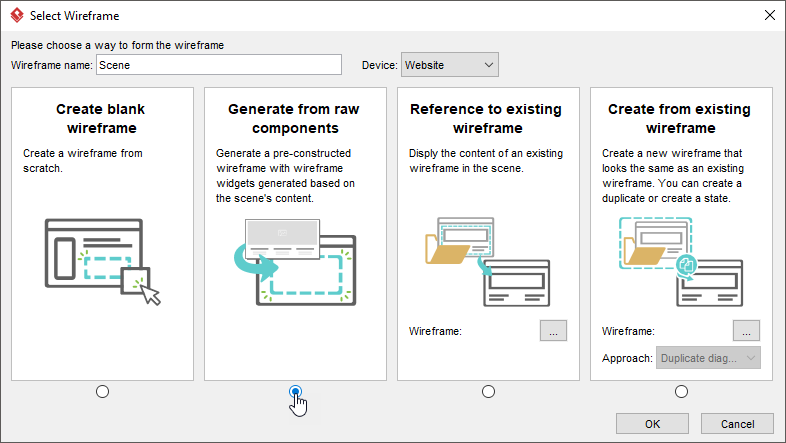
- Select the way to form the new wireframe.
- Enter the name of the wireframe and click OK.
- Draw/modify the wireframe created.
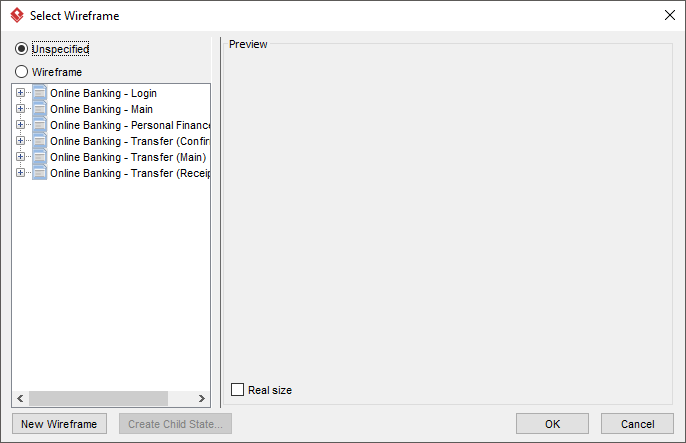
You can re-use an existing wireframe by selecting it from the wireframe tree on the left.