Software development is an ongoing process, with changes made based on new user requests. In order to satisfy users’ needs, we need to understand their requests accurately. Unfortunately, user requests are often vague or lack details
Although changes are inevitable, having a way to accurately understand user requests can ease the process. Visual Paradigm suggests to use wireframe as a medium in confirming user requests. With the Smart Edit tool in wireframe, you can take screenshots from the current system screens, and then make ad-hoc changes like to reposition screen components, reset component type (e.g. combo box to textbox) and add new components. Users can confirm their needs based on the wireframe, which ensures the proper implementation of their requests.
Capturing a screenshot
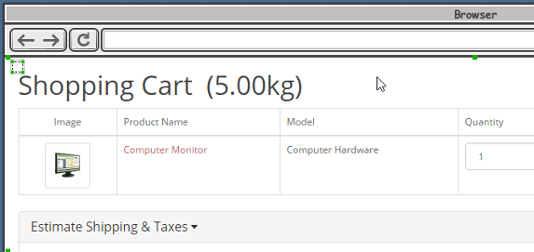
In Visual Paradigm, you can take screenshot of your computer and then embed the screenshot into a wireframe. This enables you to snap the screen of an existing application or system and have it included in a wireframe as reference.
- Open the wireframe in which you want to insert a screenshot, or create one. Note that you can add screenshot to any type of wireframe.
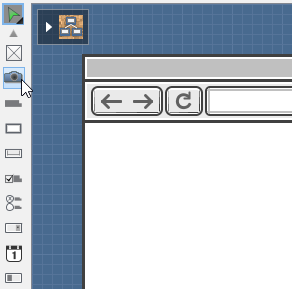
- Select the Screen Capture tool in the diagram toolbar of wireframe.
- Once selected, you will immediately enter the screen capture mode. Your computer screen is temporarily “frozen” for you to capture the region you want. Drag directly on your screen to select the range to capture.
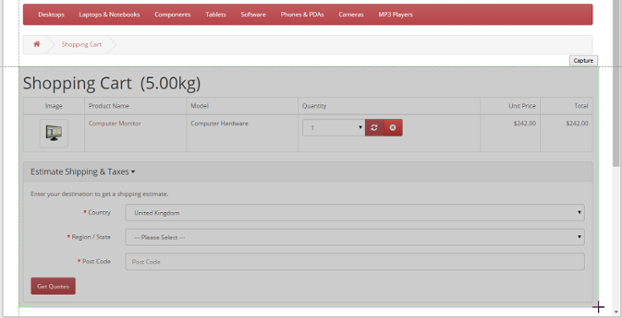
- Release your mouse button to confirm the range. If you are not pleased with your selection, you can select again.
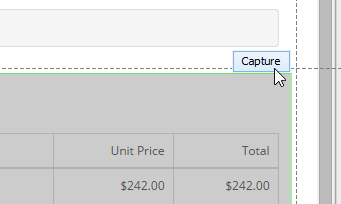
- You can perform minor adjustment to the captured range. Press the Up/Down/Right/Left key to adjust the position of the top left corner of the captured region, or press Shift-Up/Shift-Down/Shift-Right/Shift-Left to adjust the position of the bottom right corner of the captured region.
- When ready, click Capture on top of the selected range.
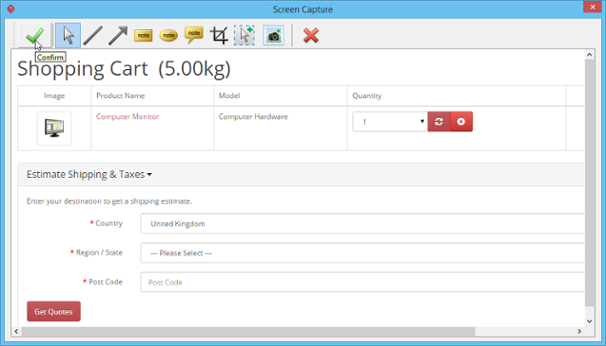
- Screen is captured. An image editor is opened for you to touch-up the captured content. You can optionally edit the captured screen in the Screen Capture window, like to add arrow and notes into the screenshot.
- When ready, click Confirm to confirm the editing. Note that the screenshot is non-editable.
- The captured image is automatically placed inside the wireframe. You can drag it to move it to the place you want.
Using Smart Edit on captured screenshot
The Smart Edit tool lets you express screen design ideas by editing screenshots captured by the Screen Capture tool. There are two ways you can take to use the Smart Edit tool:
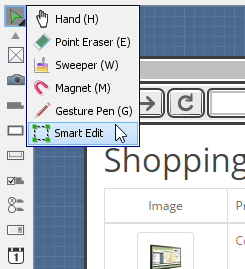
- Select Smart Edit from the diagram toolbar. The Smart Edit tool is grouped under the Selector tool. To use Smart Edit you need to press on the Selector tool to reveal the Smart Edit tool.
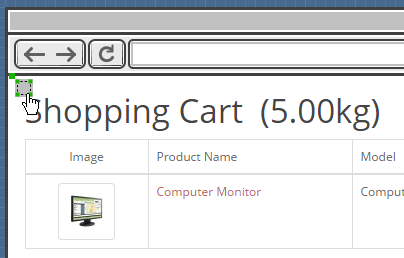
- Click on the little Smart Edit resource icon at the top left of a screenshot.
Once you have selected the Smart Edit tool, drag on the screenshot to select the range to edit. For example, if you want to move a drop down menu in the screenshot, drag around that drop down menu.
You can perform minor adjustment to the captured range. Press the Up/Down/Right/Left key to adjust the position of the top left corner of the captured region. Then, press Tab, and then press Up/Down/Right/Left to adjust the position of the bottom right corner of the captured region.
The following section describes the actions you can take to a selected range.
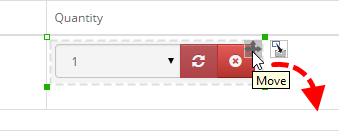
Reposition a screen component
You can move a component to somewhere else by dragging the Move resource at the top right of the editing region.
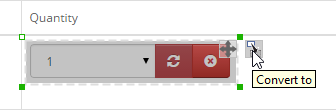
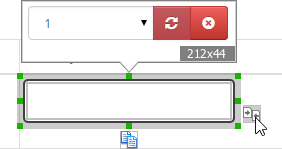
Convert a screen component to another kind of component
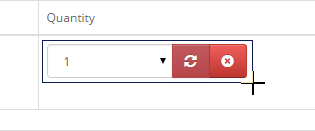
You can change a screen component to another type, say, to change a drop down menu to a text field by performing the steps below:
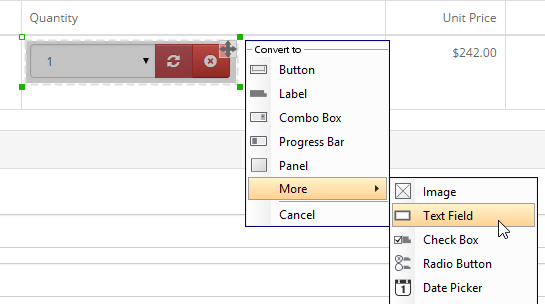
- Click on the Convert resource at the top right of the editing region.
- Select the type of widget to convert to from the popup menu.
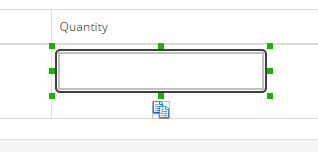
Once converted you can edit the converted widgets like any other general wireframe widgets. For example, you can move it, resize it, change its color, enter its caption (for text field, button, etc).
You may want to see the original look of a converted widget. To do this, move your mouse pointer over a converted widget and then click on the Compare resource to see the size and look of the original widget.
Remove a component
If you want to remove a component, press delete on the editing region. The background will be filled by a colored that best matches the edge of the selected range.