Communication diagram is a kind of UML diagram that is designed for illustrating the dynamic view of the system. It emphasizes the structural organization of the objects’ send and receive messages.
Creating communication diagram
Perform the steps below to create a UML communication diagram in Visual Paradigm.
- Select Diagram > New from the application toolbar.
- In the New Diagram window, select Communication Diagram.
- Click Next.
- Enter the diagram name and description. The Location field enables you to select a model to store the diagram.
- Click OK.
Creating actor
To create an actor, click Actor on the diagram toolbar and then click on the diagram.

Creating lifeline
To create lifeline, you can click LifeLine on the diagram toolbar and then click on the diagram.
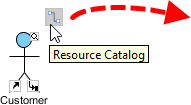
Alternatively, a much quicker and more efficient way is to use Resource Catalog:
- Move your mouse pointer over the source lifeline.
- Press on the Resource Catalog button and drag it out.
- Release the mouse button at the place where you want the lifeline to be created.
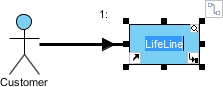
- Select Message -> LifeLine from Resource Catalog.
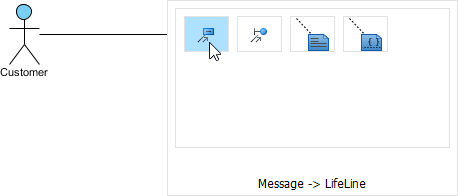
- A new lifeline will be created and connected to the actor/lifeline with a message. Enter its name and press Enter to confirm editing.
Creating message on link
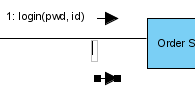
To create message on link, click its Create Message resource.
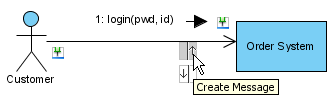
A message will be created on the link.
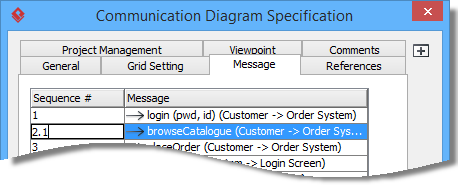
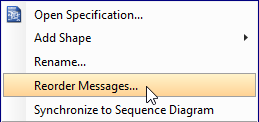
Editing sequence number of messages
To edit sequence number of messages, for example, to show certain messages are in nested level of interaction, right-click the diagram and select Reorder Messages… from the pop-up menu.
When the Communication Diagram Specification window appears, the Message tab is opened by default. Double click on the Sequence # cell of a message to edit it. Click OK button to apply the changes.