Users can record and present requirements as boxes visually through requirement modeling. The name of requirements summarizes the requirement while a set of attributes defines the requirement. The default requirement box enables users to specify general attributes, such as ID, source, kind, verify method, risk and status. Moreover, you can customize your own requirement types that contain attributes related to your domain.
Creating new requirement type
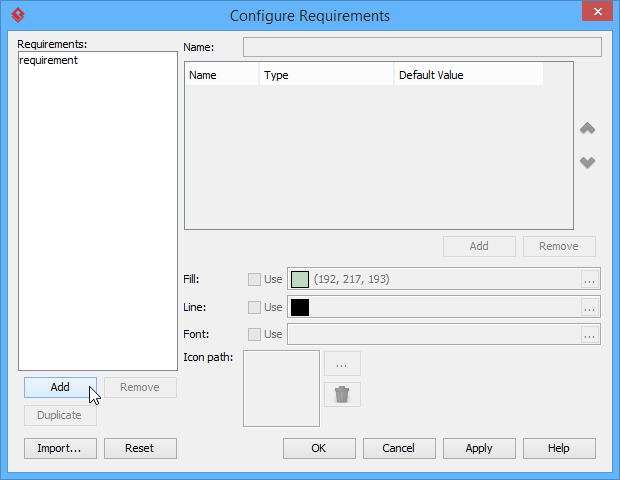
Before creating new Requirement type, create a new SysML requirement diagram or open your target requirement diagram where you want to customize your our own requirement types. Select Windows, then click Configuration > Configure Requirements… from the toolbar.
The Configure Requirements window appears. Click Add to add a new requirement type.
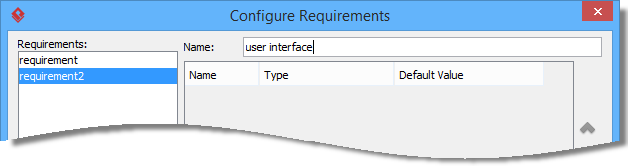
Enter name of the Requirement type in Name field.
Add attributes for the requirement type to make it meaningful. Click Add button below the attribute table and select an attribute.
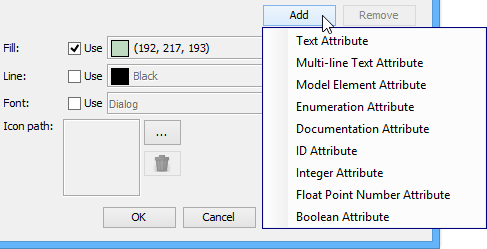
Name the newly created attribute. Create as much as attribute you need by following the previous step.
Note: If you select Enumeration Attribute from the drop-down menu, Edit Enumeration… button will appear. Click Edit Enumeration… button to edit it.
Note: Click the … button of Line if you want to customize its line property while click the … button of Font if you want to customize its font property.
Finally, you can see the customized requirement type is available on the diagram toolbar. You can select and click it on the diagram to create the shape.
