Creating a document
To create a document:
- Select Tools > Doc. Composer from the application toolbar.
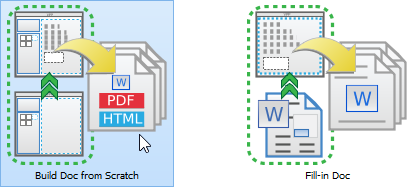
- Click Build Doc from Scratch.

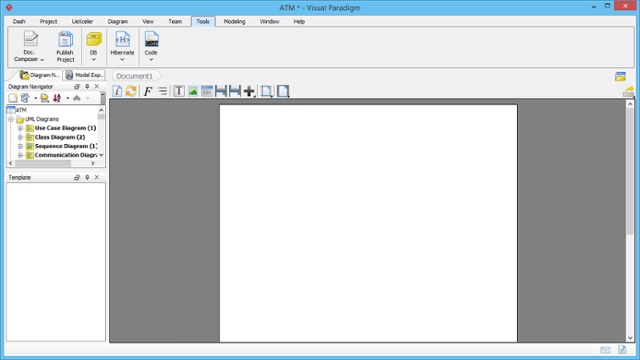
- Name the document by double clicking on Document1 in the breadcrumb and then typing in a new name.

- Press the Enter key to confirm the naming. Your screen should look like this:

- To have more editing space, we recommend you to collapse the toolbar temporarily by double clicking on the Tools tab.

Overview of Doc. Composer

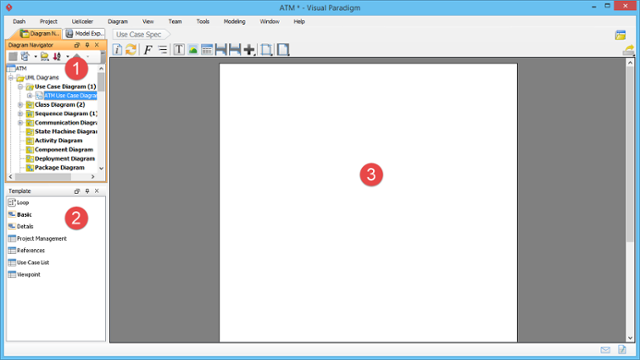
The “Build from Scratch” mode of Doc. Composer consists of three main parts:
| Name | Description | |
|---|---|---|
| 1 | Diagram Navigator / Model Explorer | The Diagram Navigator and Model Explorer (behind Diagram Navigator) provides you with access to different parts of your project– the project, diagram, diagram elements and model elements. If you want to output content for say a use case diagram named “My Diagram”, select “My Diagram” in Diagram Navigator (or Model Explorer) first. |
| 2 | Element Template List | A list of element templates available for the project data selected in Diagram Navigator or Model Explorer.
As said earlier, each type of project data has its own set of element templates. Take the image above as an example, by selecting a use case diagram in Diagram Navigator, the templates Basic, Details, Project Management, etc. are listed. If you select other project data in Diagram Navigator or Model Explorer, a different list of element templates will be presented. Document creation is the process of dragging and dropping a suitable template from the Element Template List onto the document. |
| 3 | Document | Content of document. What you can see here will be what you will get when you export the document as HTML/PDF/Word. On top of the document there is a toolbar that provides you will access to tools like format configuration, report configuration, page break insertion, etc. We will talk about the tools later on in this chapter. |