Although Doc. Composer comes with a complete set of built-in element templates, you may still want to customize or even to write your own templates for maximizing the efficiency of document design. You can accomplish this by writing and programming your own element templates.
To create a template:
- Open Doc. Composer.
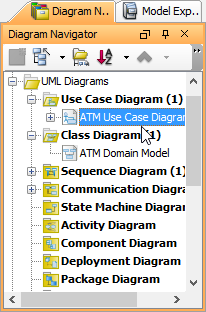
- Select the type of element to create template. For example, select ANY use case diagram in Diagram Navigator if you want to create a template to list specific shapes in use case diagram. You can select project / diagram / model element / diagram element in Diagram Navigator and Model Explorer.

- The Element Template Pane lists the templates available for the selected element type. If your Template pane is hidden, select View > Panes > Property in the toolbar (or press Ctrl+Shift+P) to show it.
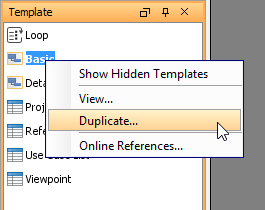
- To simplify the programming of template, you are suggested to duplicate an existing template and start editing it, rather than do everything from scratch. Target on a template that gives the closest outcome to what you want to show in document. If you want to start from an empty document, select any templates. Right click on your selection and select Duplicate… from the popup menu.

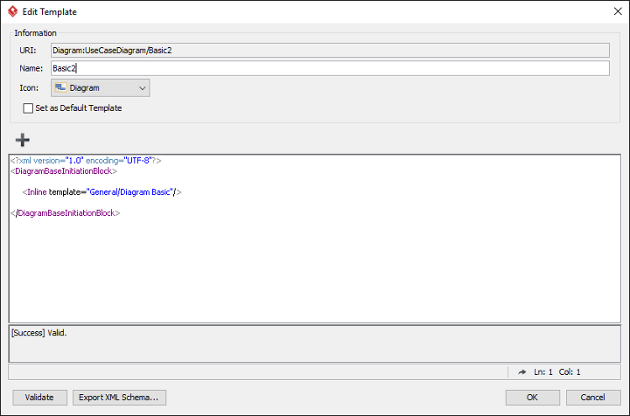
- In the Edit Template window, specify the following information and click OK to continue.
URI: A unique URL of the template, used in plugin development
Name: The name of the element template, which is the name that shown under the Element Template Pane.
Icon: An icon that best represent the layout of content that will be produced by using this template.
Set as Default Template: Check this option if you want Doc. Composer to apply this template automatically when dragging elements directly from Diagram Navigator / Model Explorer onto document.
Template content: Editor for programming the template.

- Customize your template and click OK to apply the changes. To learn how to write a template, click here.
Go to line
If your template contains invalid content, by performing a validation (by clicking Validate), the line number of the problem content will be displayed in the log pane. To view the problem content, you can use the ‘Go to line’ function.
- Click on the tiny arrow button next to the current line number.

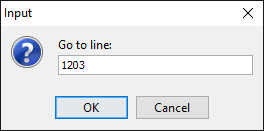
- Enter the line number in the Input dialog box and click OK.
